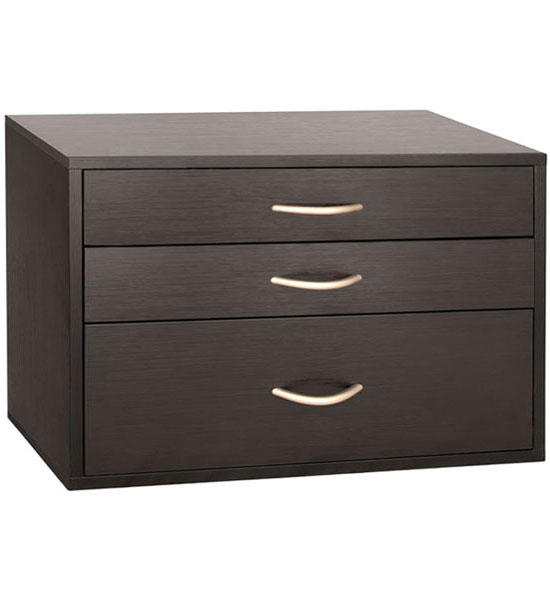
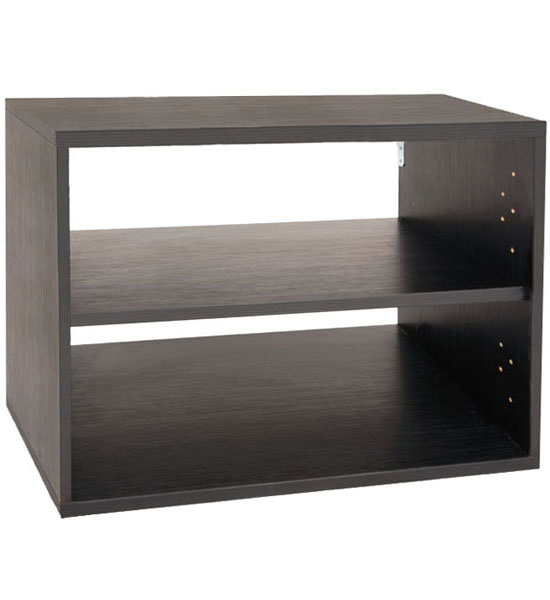
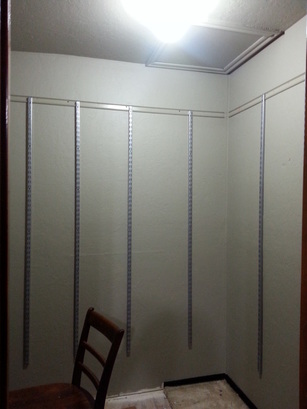
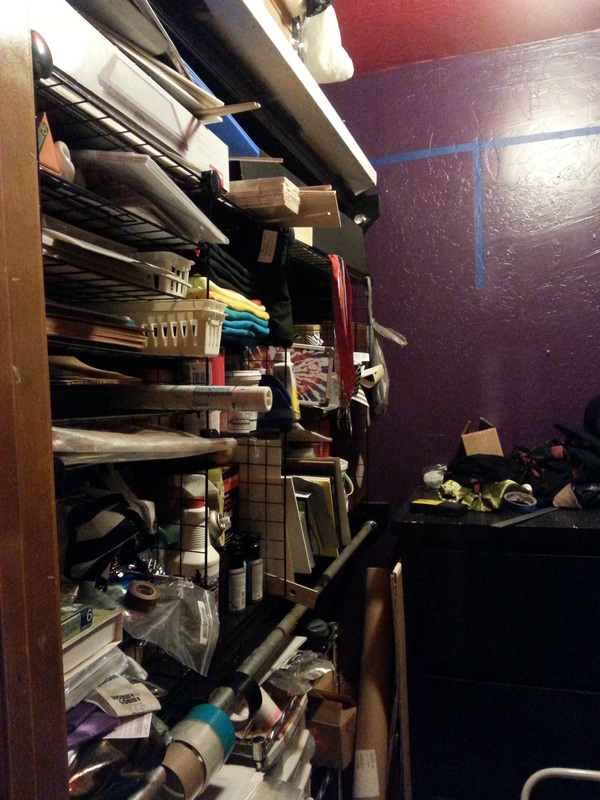
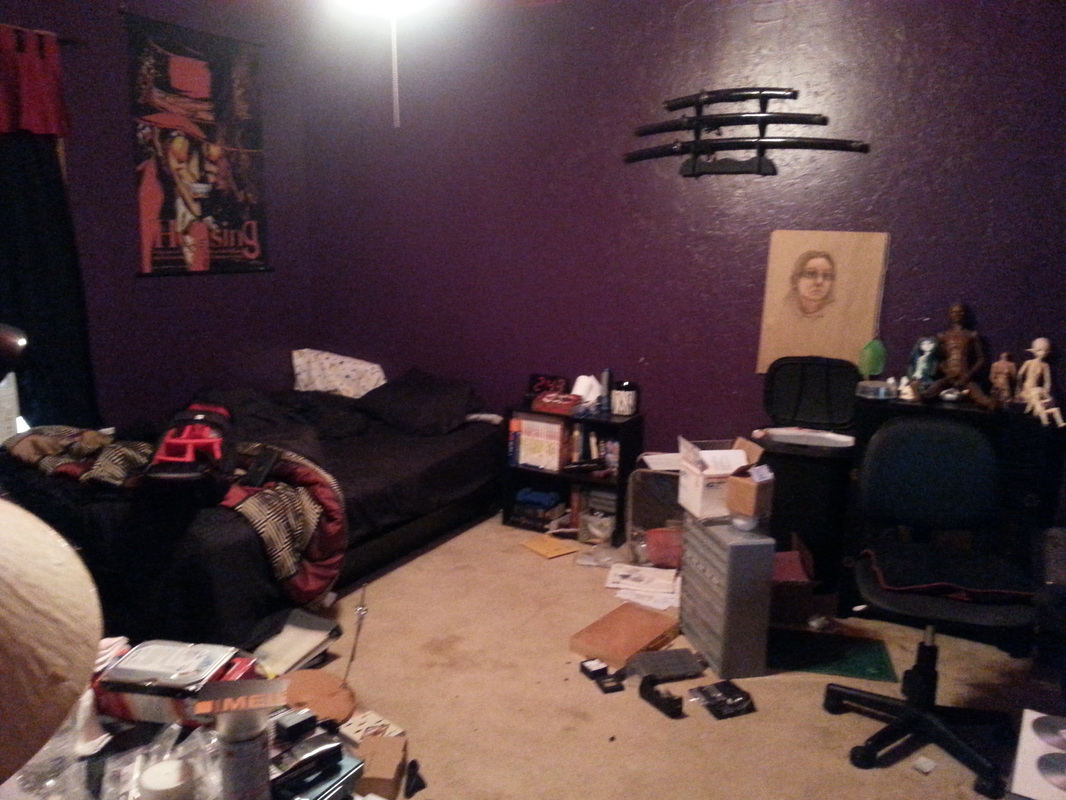
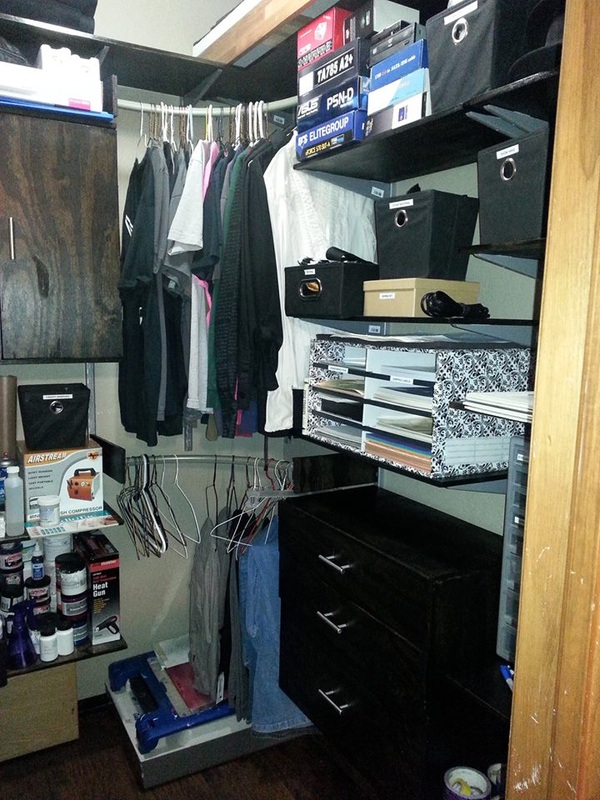
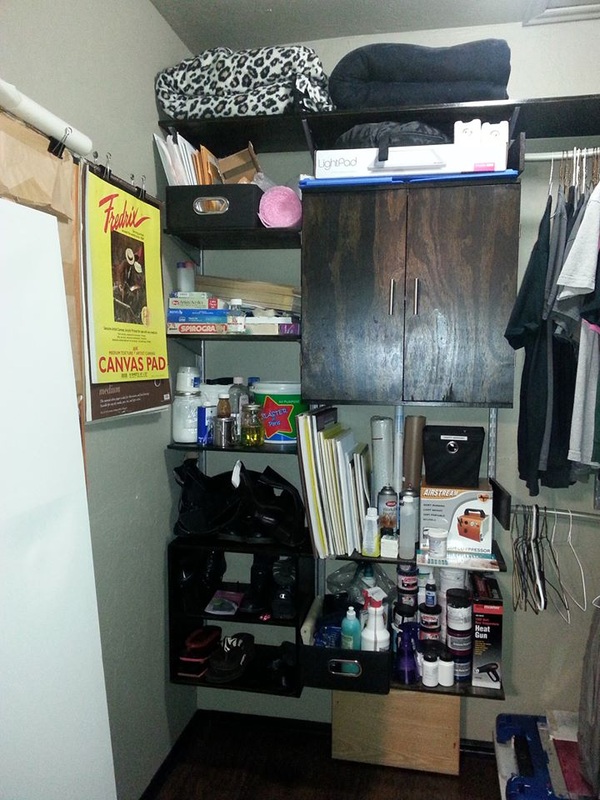
Introduction This whole project started when I just couldn't stand my dark cluttered room anymore, mostly my closet. The rest of the room was a decision I made on a whim later. Don't get me wrong, I loved my dark purple walls, but the dark color made it difficult for me to see anything properly. The carpet had been there for twenty years and had managed to survive my brother's abuse, my abuse, and my dog's abuse. If my brother and I weren't spilling drinks or paint on the carpet, my stubborn male dachshund was marking his territory on the corner of my bed everyday. For those of you who are lucky enough to have or have had a dachshund, you know what I mean. The design of my closet was horrible. I do believe my dad designed the closet for a child, which was understandable since me and my brother were kids when he built the house. However, the closet space just was not working for me anymore. There were three wall-to-wall closet rods. Then there was the dresser. The horrible dresser that just sat there, in the middle of nowhere....protruding a good two and a half feet outwards. Yea, the dresser had to go. Reason being, I need much less room for clothes and much more room for art supplies. Research I started with the closet. I researched closet organization systems in my downtime and was astonished at how much they cost. I shit my pants after seeing the price of the "freedomRail" system, then laughed my way out of their site faster than you can say "Howdy Doody". That high price is just ridiculous. I do not have that kind of budget. I still live with my parents because if my budget issues! However, if you do have an enormous budget, I recommend the freedomRail because it's so well designed. I don't know the quality of the system itself, but it looks to be made of particle board. Which makes the price even more ridiculous. The units picture below probably only cost $20 bucks to make. The units themselves are about 24 X 16 X 14 inches. Can you guess what I decided to do next? If you guessed that I was going to build them myself, you guessed correctly. I liked the idea of having everything off the floor, so I opted for a neat hanging rail system much like freedomRail (from Organize It) and Rubbermaid. But where am I going to find a rail system at a decent price? After scouring the internet, (literally...I think I even found the end of the internet) I found the pieces for closet systems and a mere fraction of the cost. I gobbled those up and cringed slightly when the shipping price gave me a belly ache. Below is a list of the rail system pieces and their costs.
At this point, even after the shipping costs, I have saved over a thousand dollars! Well I am a master pack rat, after all.It took me a good two days to take everything out of the closet, which actually filled up the entire loft area. How in the world did I managed to pack all that stuff into my closet? After I removed everything, I began the demolition. I thought the dresser was going to be difficult to remove, since it was built into the house. It popped out easily with the use of a crowbar. Yay. I ended up finding a stash of Halls wrappers that some mouse had found and eaten. He must have had a bad cough and sore throat. Never found the actual mouse or the actual spiders that made their webs in the back of the dresser. I found our later I was wrong about the spiders! Construction time! I started out with pre-cut particle board shelving. However, I was concerned about weight so I returned the shelving and opted for a lighter weight pre-sanded 1/2" plywood. If the wall tracks were mounted on a stud, each screw supposedly held 200lbs each. I had about 3 or 4 screws spanning across each wall, but the lighter the wood the better. That way I can put more stuff on the shelves, right? Since I didn't have a table saw, I had to have the store cut the plywood, which cost me $1.00 per cut. I had a $10.00 coupon, so the cuts were basically free. If you know me, I hate paying full price for anything. I also received a discount on the drawer bottom wood because there was a nasty broken piece on the end.  Cutting, staining, and sealing the wood was a simple straight forward process. For the shelves, that is. The $0.99 brackets I bought were for a more heavy duty track system, but since they were made by the same company I figured they would fit the painted wall standards. They didn't. Go figure. The heavy duty brackets did not fit either. I needed the flat brackets for my hanging drawers and cabinet. The brackets could still be usable, I just had to grind one or two of the hooks off. It went well other then the burn I got from grabbing a piece of the smoldering metal that had landed on my drills trigger without me realizing it. That was a nice blister in the crease of my index finger. No pain, no gain.
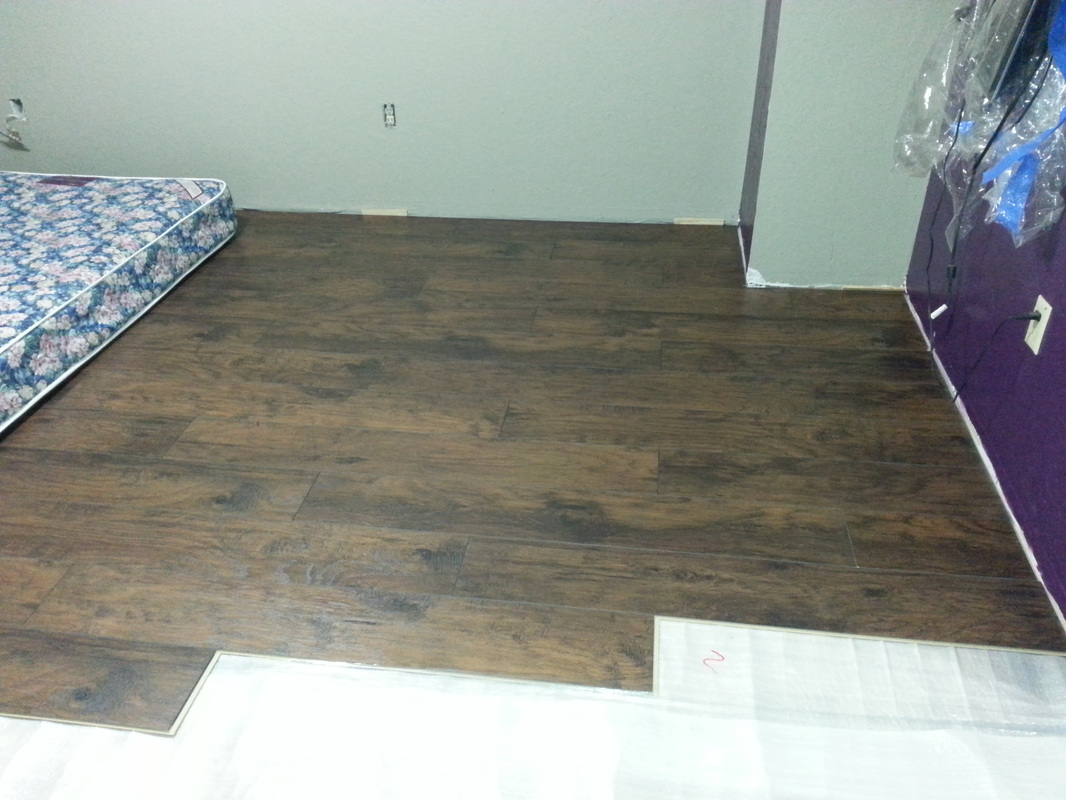
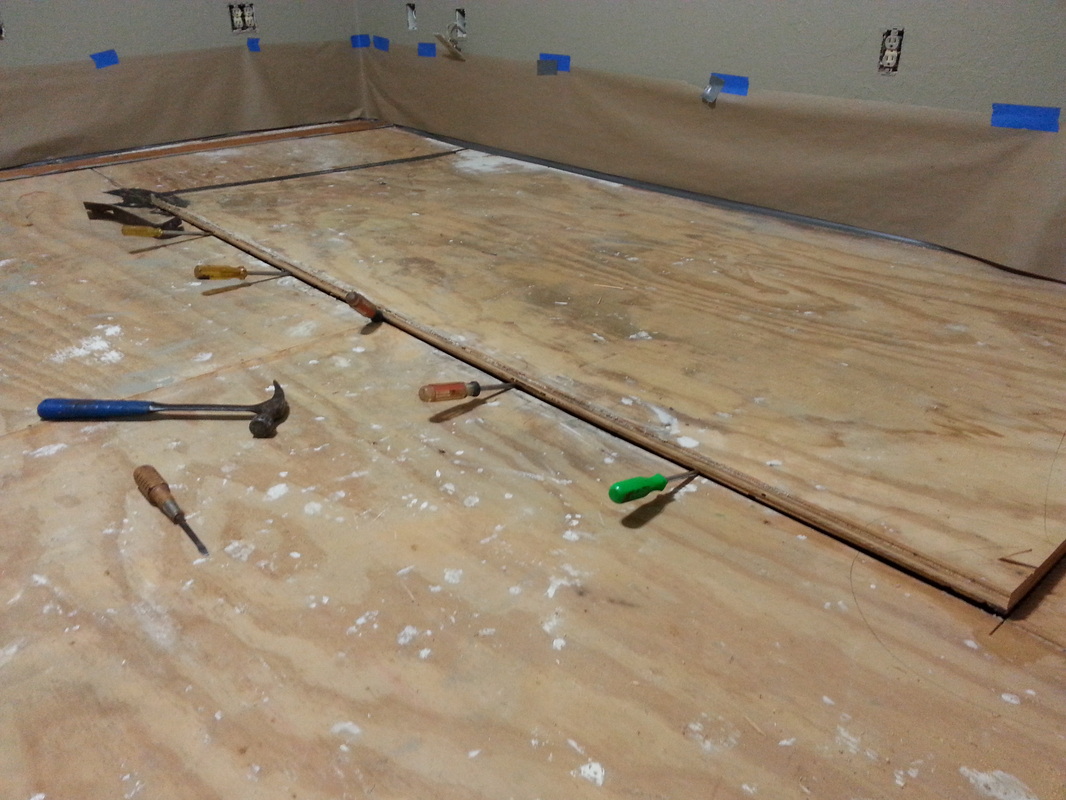
The Paint and Flooring  Mom was helping me paint. Thanks, Mom! Mom was helping me paint. Thanks, Mom! I knew I wanted gray for the walls. However, this might have been too dark so I chose a light gray with a brown undertone. Since I like colored walls, I wanted to keep one wall purple. I thought that covering the purple was going to be a nightmare. I had deep blue walls before this and the Kilz primer would not cover the blue all the way. The paint I used this time was Glidden Duo, paint and primer in one! This paint is the most awesome paint ever. That paint covered the purple as though the walls had been white. Home Depot was also having a rebate for $5.00 per gallon. BUT! My immediate family attracts misfortune in all things. I was loading the paint into the truck and the paint attendant failed to put the lid on right and it spilled all over my shoes and the parking lot. I thought I would have to buy another gallon, so I was pissed. The register lady was a nice lady and let me have a replacement for free. Thanks, register lady.
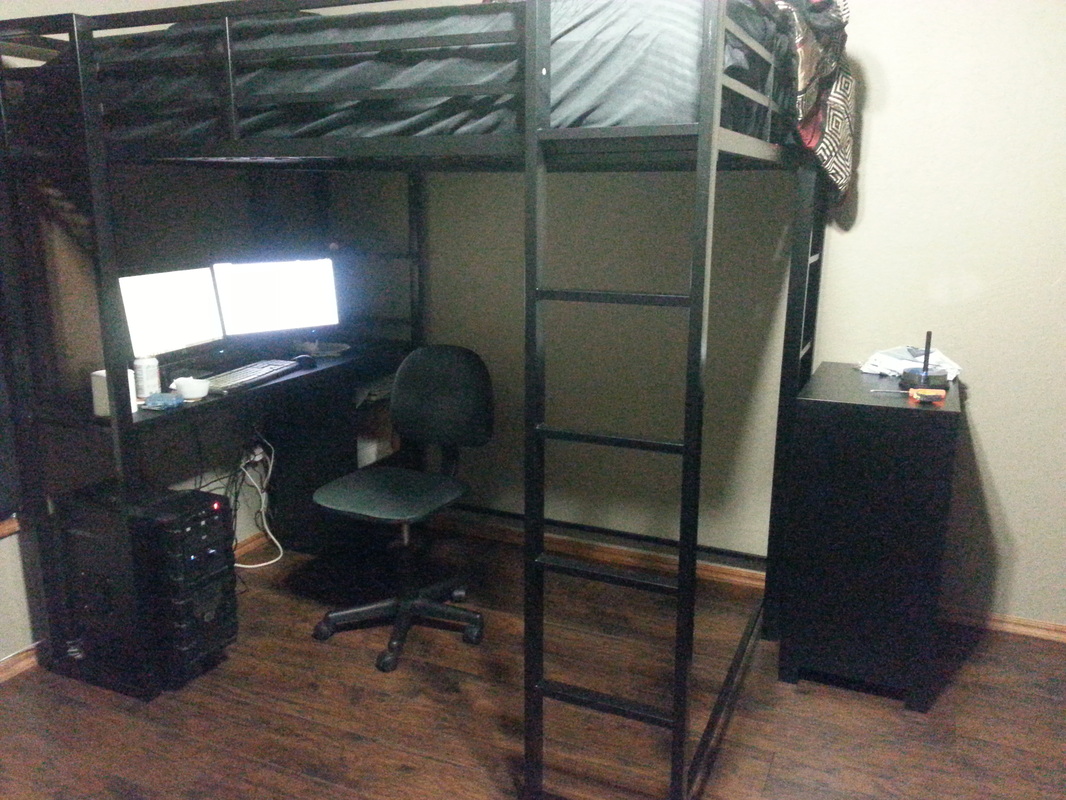
I will now present the before and after pictures. Conclusion This was quite the long blog post. However, the entire process was quite the ordeal. This "remodel" took me over three months to complete! If you have made it this far, then I give you kudos. I did order a loft bed to save space, but the bed was too high for my ceiling. My dane, Lucy, as also upset that she could no longer nap on my bed.
1 Comment
|
AuthorI'm Deadra - I'm a quiet, anxiety-filled individual with a resting bitch face. I am an artist, graphic designer, and self-made hundredaire with a strange obsession for ball-jointed dolls. Categories
All
Archives
October 2023
|
